Elevate Your Instructional Design with Camtasia: Essential Tips and Tricks
- Eboni Golden
- Apr 25, 2024
- 3 min read


Camtasia stands out as an indispensable asset for instructional designers, blending powerful video editing and screen recording capabilities. It offers a suite of tools tailored to enhance the development of engaging, clear, and professional tutorials and lessons. Whether you're crafting content for online courses, training materials, or educational videos, mastering Camtasia can elevate the value and impact of your work. Below, I've curated a collection of tips and tricks designed to streamline your production process, ensuring your instructional videos stand out.
Harnessing the Power of the Timeline

The timeline is the heart of your editing workspace in Camtasia, and mastering its functionality is key to precise editing. Here’s how to make the most out of it:
Cut, Split, and Trim with Precision: Use the timeline to precisely remove unwanted segments, split clips into manageable sections, and trim the beginnings and endings to ensure a tight, focused video.
Layering for Depth: Manipulate the order of video clips, audio tracks, and images by dragging them up or down in the timeline. This layering capability allows for sophisticated visual storytelling.
Crystal-Clear Audio Editing
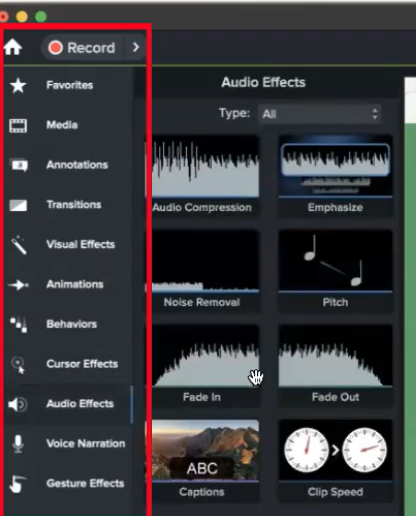
Your instructional video's audio clarity is non-negotiable. Camtasia’s audio editing tools are robust:
Removing Background Noise: Utilize the noise removal feature to create a cleaner, more professional sound.
Volume Leveling: Ensure your voiceovers maintain a consistent volume level, enhancing the auditory learning experience for your audience.
Integrating Webcam and Screen Recordings
Combining webcam footage with screen recordings adds a personal touch to tutorials, making the content more engaging:
Picture-in-Picture (PiP) Effects: Seamlessly integrate your webcam footage into a corner of your screen recordings, maintaining learner engagement without distracting from the key content.
Synchronization: Align your webcam and screen recordings in the timeline for smooth transitions and cohesive storytelling.
Employing Annotations, Callouts, and Animations
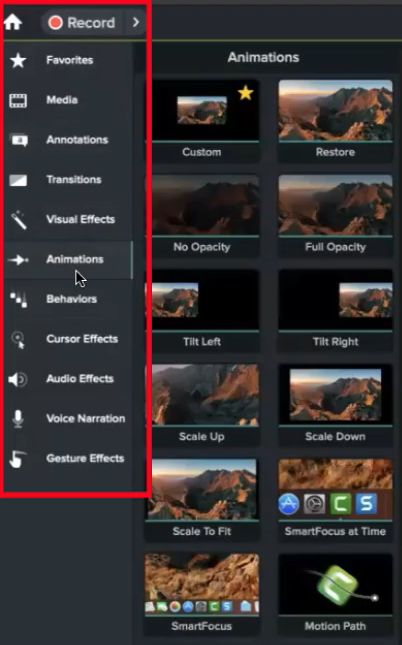
Annotations, callouts, and animations are your allies in highlighting critical information:
Draw Attention: Use annotations and callouts to spotlight important details or steps in your tutorials.
Animate for Impact: Apply animations to make your key points pop, ensuring they capture and retain viewer attention.
Strategies for Efficient Production
Efficiency in production means more time to focus on content quality:
Batch Processing: Save time by applying effects, adjustments, or renders to multiple videos simultaneously.
Custom Presets: Create and save your editing presets, streamlining your workflow for future projects.
Leveraging the Camtasia Library
Don’t overlook the treasure trove that is the Camtasia library:
Royalty-Free Assets: Access a wide range of music, images, and video templates, enriching your content without the headache of copyright issues.
Enhance Engagement: Incorporate these assets to add polish and professionalism to your tutorials.
Exporting Like a Pro

Finally, ensuring your content is accessible and looks great on any platform is crucial:
Various Formats and Sizes: Understand the best practices for exporting your videos, considering where your audience will view them. Whether it's for web consumption, eLearning platforms, or social media, Camtasia offers flexible exporting options to suit your needs.
Conclusion
For instructional designers seeking to create compelling and educational content, Camtasia is a tool of unparalleled value. By integrating these tips and tricks into your workflow, you can enhance the efficacy and appeal of your instructional videos, making the learning experience enjoyable and effective for your audience. Remember, the more you experiment and familiarize yourself with Camtasia’s features, the more efficient and creative your production process will become. Happy designing!


Comments